Most people don't just carry around money in our wallets. We are probably loaded with credit cards, membership cards, gift cards, grocery receipts, atm receipts, drivers license, you name it, all of it just bursting at the seams of our wallets. This is why most people can't be satisfied with your basic wallet. You need pockets! I realize there have been tons of tutorials already on this. Well, this is me jumping on the bandwagon. I hope this one helps you!
Hopefully you already know how to make duct tape fabric, if not, go to my first post on instructions on how to make it. You will need 9 to 10 pieces of duct tape and you will need to cut it longer than the length of a dollar bill, in fact you will need to cut it the size of 2 lengths of card because as you can see,
a card is longer than a half of a bill and if you are going to have pockets on both insides of the wallet, it'll need to be longer than a plain wallet. And just to be safe, always cut longer the tape than you need to give yourself room to work with in case you cut too little. Just like hair, its easy to cut too short, but what you have cut off, you can't tack back on.
Just be careful when you are cutting out your duct tape, that it wont stick to itself or to each other! Because if it does, the tape is useless. I hate when this happens!
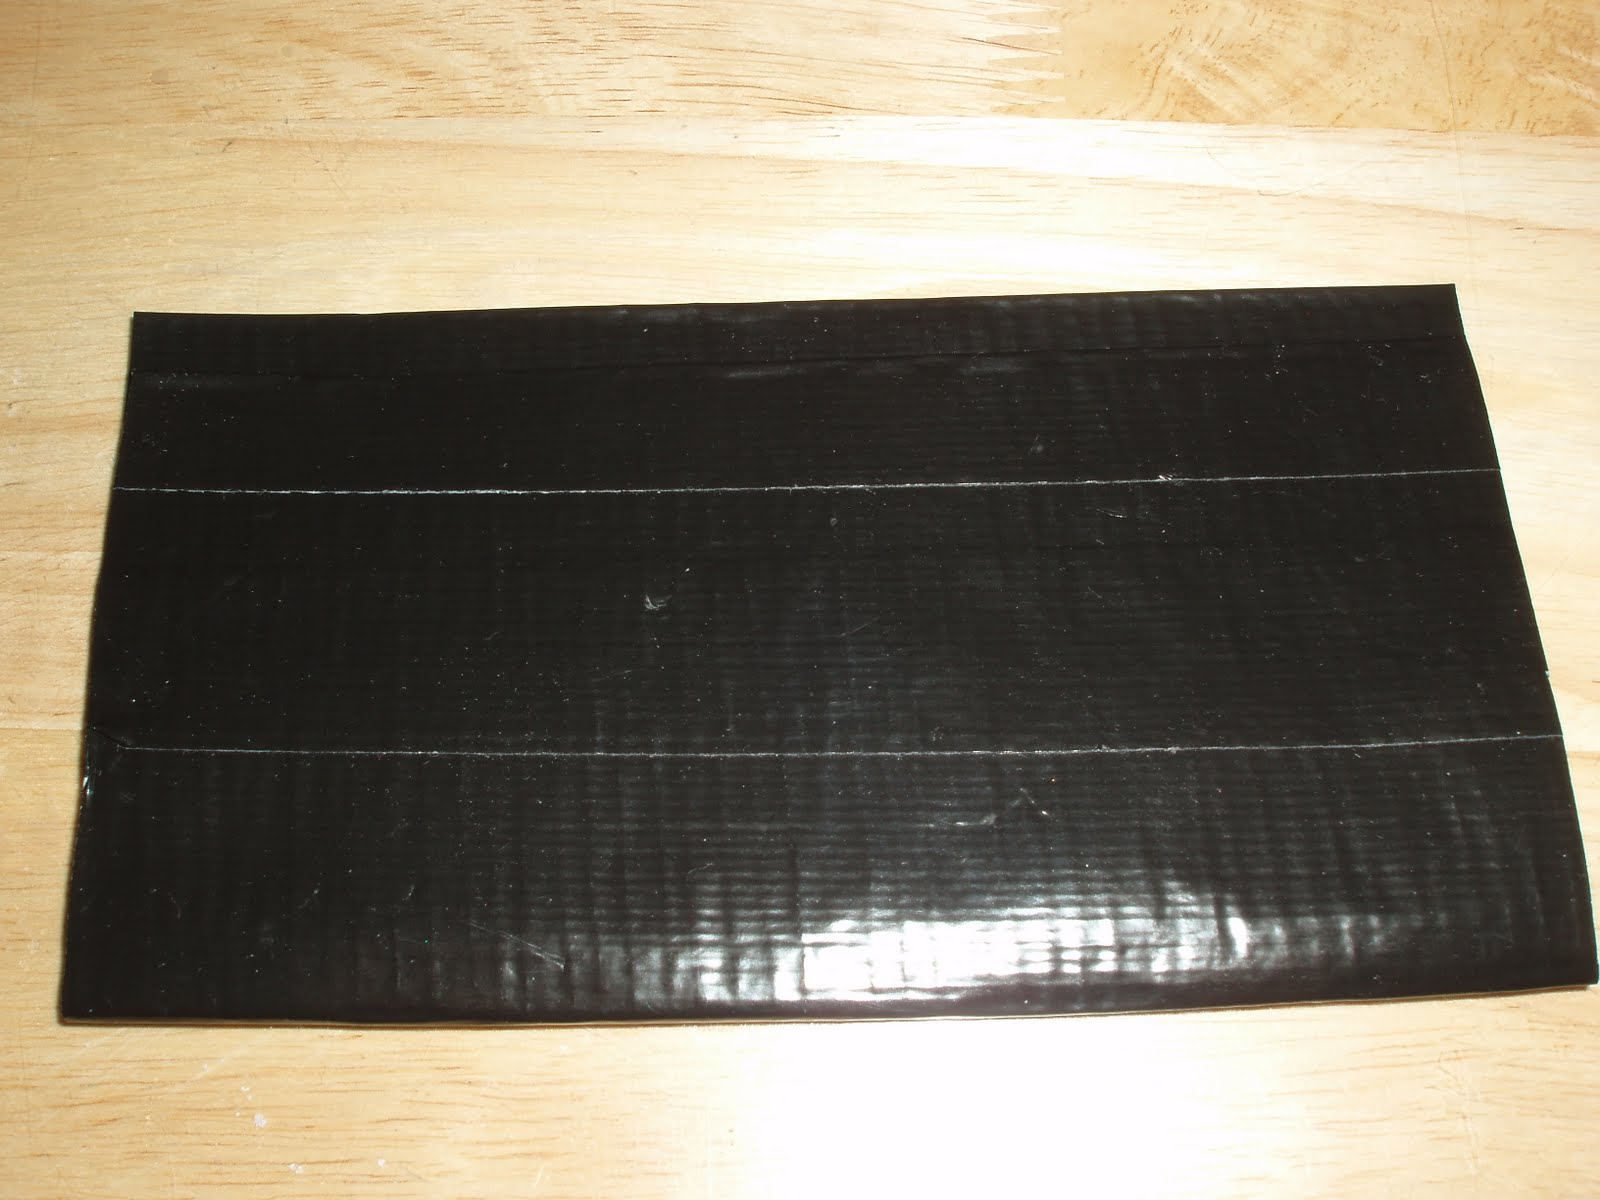
Here is my nice piece of duct tape fabric used to make the base of this wallet.
To this, we are going to add the pockets. To make the pockets, make smaller pieces of fabric which are longer than the length of a card but about the same height, I made 4 of these so that I will have 4 pockets.

I used 3-4 pieces of tape for every pocket. Trim the edges. Fold the wallet in half, leaving a small gap between edges if you like and lay the pocket pieces on top of the wallet.
Now you can tape it all down around the edges and trim off excess.
One more step, if you can't fit your cards in, cut a bit into the tape holding down the pockets. That's it! You're done!


